Homeyduino: Connecting your own creations to Homey, the easy way
The Do-It-Yourself category of the Homey Blog is a place where employees can share some of their own projects. Some technical background might be required when following the instructions!
Hi! I am Renze, a student electrical engineering at Saxion University of Applied Sciences. As part of my internship here at Athom I worked on an application that lets you control your own Arduino projects with Homey: Homeyduino. In this blog post I am going to show you what Homeyduino is and how you can use it in your projects. Let's get started!
What is Arduino?
Some of you might already know what Arduino is. Great, because if you do, you are part of the group of people Homeyduino aims to target. Don't know what Arduino is (yet)? Be prepared for all the amazing things you're about to discover!
Let's kick off by quoting the Arduino 'getting started guide', and see how they describe Arduino:
“Arduino is an open-source electronics platform based on easy-to-use hardware and software. Arduino boards are able to read inputs - light on a sensor, a finger on a button, or a Twitter message - and turn it into an output - activating a motor, turning on an LED, publishing something online. You can tell your board what to do by sending a set of instructions to the microcontroller on the board. To do so you use the Arduino programming language (based on Wiring), and the Arduino Software (IDE), based on Processing.”
Simply said: Arduino lets you create your own (smart) electronic devices! At Athom, we like Arduino a lot. During the kickstarter campaign we even provided Homeys with a 433MHz module for the more geeky backers, so they could already integrate their Arduino projects with Homey. Homeyduino is the continuation of our efforts to allow the creative Homey users to make the smart home they desire.
Using the network everyone has
While using the 433MHz modules requires quite a bit of technical knowledge, Homeyduino tries to handle the boring technical stuff for you. You just need a working network connection to connect your Arduino project to Homey.
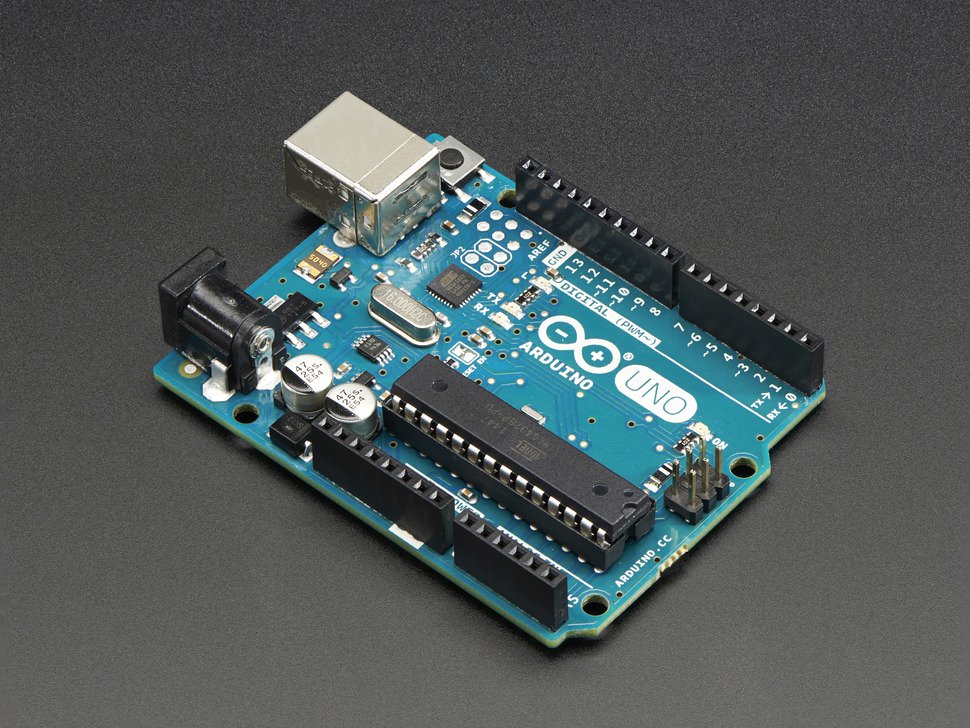
Lots of people have been building projects using the ESP8266 Wifi microcontroller on boards like Wemos D1 or NodeMCU. You can use the built-in Wifi capabilities on boards based on that chip or its bigger brother, the ESP32. On more traditional Arduino boards such as the Uno, Leonardo or Mega you can use an ethernet shield instead to connect to Wifi.
After connecting your Arduino board to your network, all you need to interact with Homey is the Homeyduino Arduino library. You can download it directly from Arduino's built-in library manager. Just search for Homeyduino and you'll find it.
The idea is that you define the functions your device has in your Arduino sketch. On the Homey side you won't have to write a single line of code.
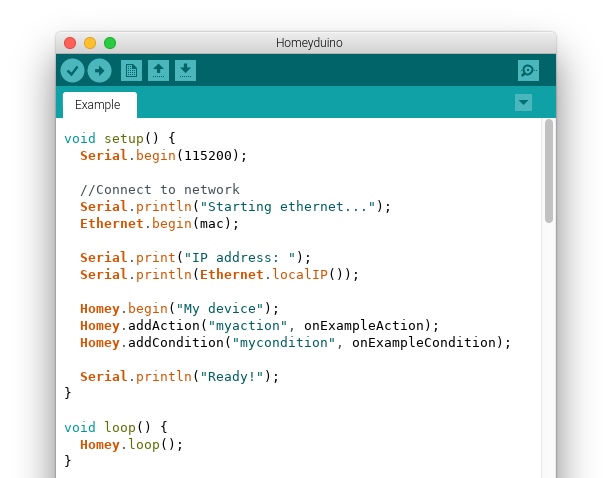
After establishing a network connection, your Homey connected creations adventure begins. Simply call "Homey.begin("My device");". Creating actions, conditions and triggers is as simple as defining them, using the "addAction", "addCondition" and "trigger" functions.
A full getting started guide is available in the Homeyduino Git repository, so for now we will skip those bits and show you what we did with Homeyduino.
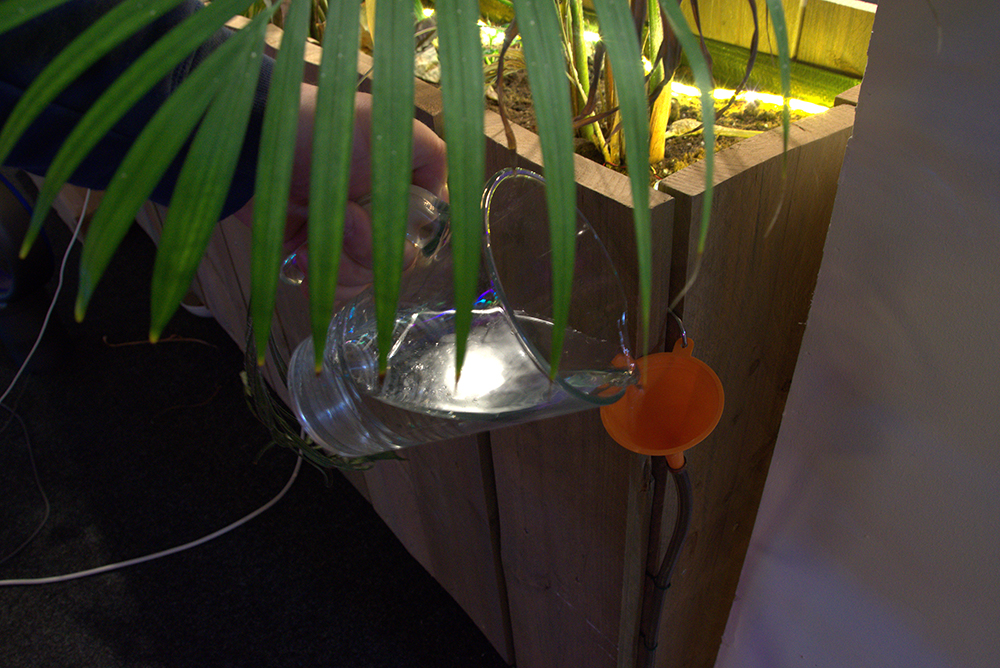
The automatic plant waterer
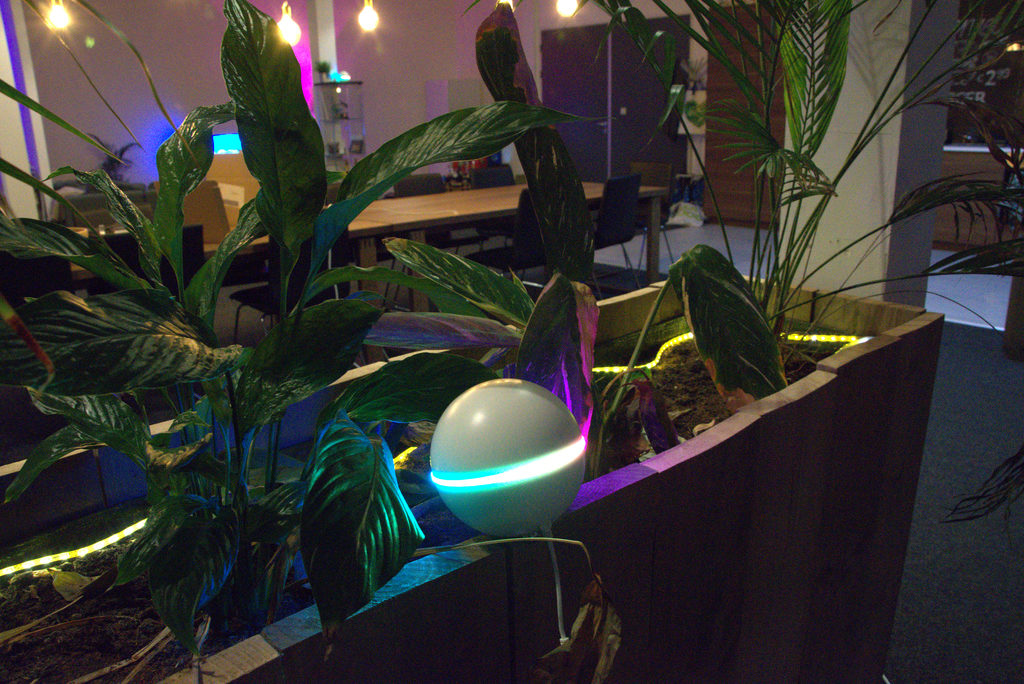
In our office we have a planter. It doesn’t look as nice as it could be. Mainly due to the fact that the plants in the planter have been neglected for a while now. Unacceptable of course. Our solution for the problem was simple: we automated the planter using Homeyduino!
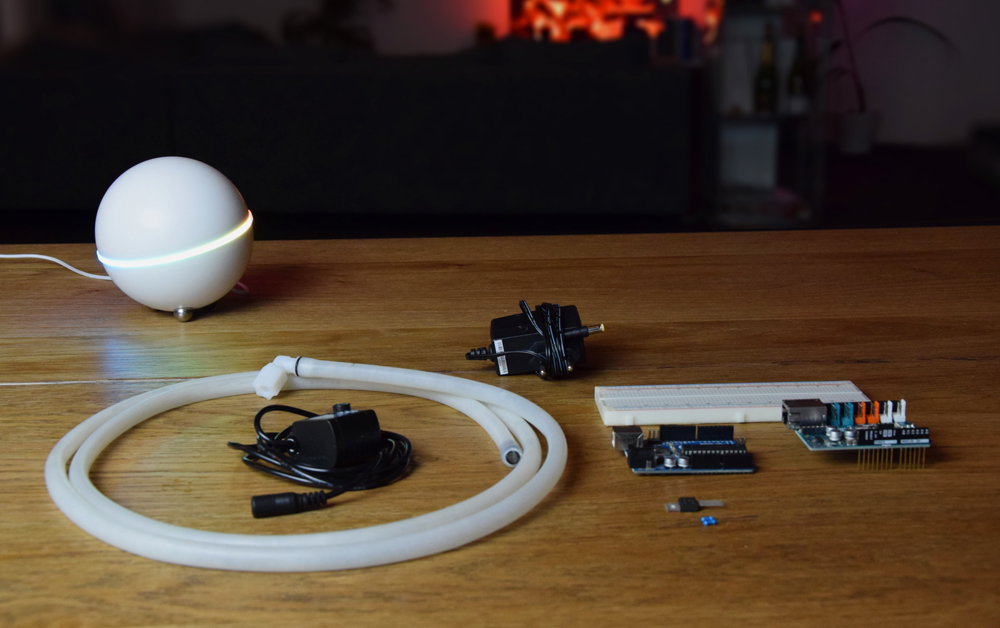
The project is based around an Arduino Uno combined with an Arduino Ethernet Shield. You'll need the following to put it all together:
- Homey
- Arduino Uno
- Arduino Ethernet Shield
- A breadboard
- 12v DC wall-plug adapter
- Small 12v water pump
- Piece of tubing
- N-type mosfet
- 1KOhm resistor to use with the pump
- Water
A detailed instruction manual can be found here.
Fill the tank once in a while and Homey will water our plants for us. Now, you might wonder, what happens if water runs out? We even thought about that! Once the tank is empty, Homey warns us by saying "Tank empty!" and fading the ledstrip we built into the planter.
An external RFID card reader
Homey can read RFID cards such as your public transport card. This feature has a lot of potential applications. However, for many of these applications you have to physically touch your RFID card to your Homey. This can make implementing your RFID ideas a bit of a hassle.
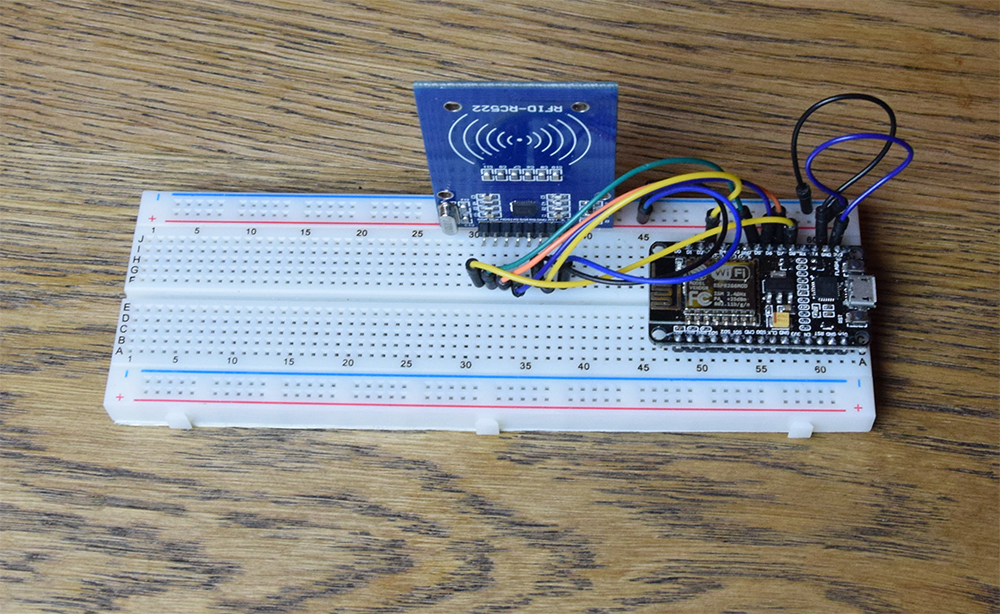
Using Homeyduino you can easily make your own cardreaders that work with Homey. You don't even have to be physically near Homey. This way, you can place the reader wherever you want.
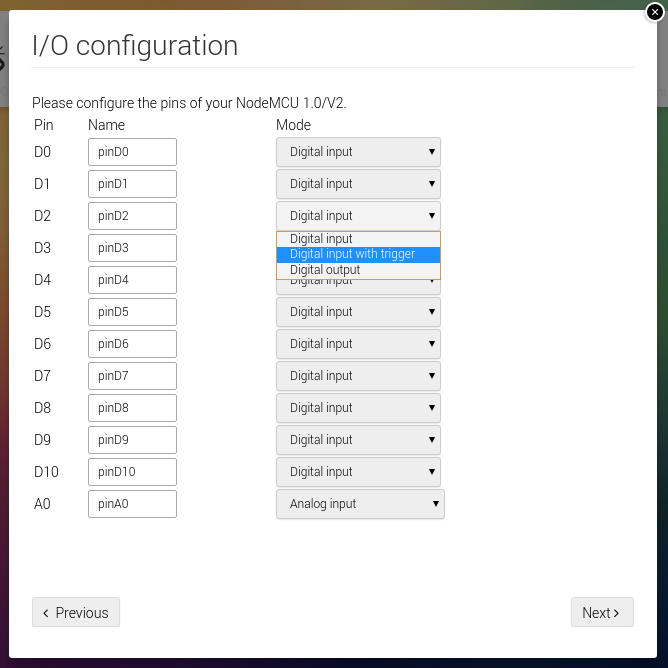
That's not all
Not that good in programming? No worries! We made a module in which you can configure your Arduino board straight from the Homey interface. Select a function for each pin of the board, fill in the name and you're ready to go. No programming required!
What will you create?
Now that you've seen the possibilities of Homeyduino, we can't wait to see what you will create. We've documented the creation process of our automatic plant waterer and RFID reader on Homeyduino's Git repository. You can also find the getting started guide over there. The Homeyduino app can be found in the Homey Appstore, and the Homeyduino Arduino library is available in the Arduino built-in library manager.
We're looking forward to see what you will be doing with Homeyduino. Good luck!
Athom is always looking for skilled students. Always wanted to work in a creative, dynamic environment? Check out our career page!
